Easter it is !! Easter brings a lot of things along with it. One of those is School holidays, well we can debate all day whether that’s a good thing or a bad thing. If you are dreading the crowded shopping malls, over-crowded theme parks then it’s a scary thought. Think about the fact that there are also deserted roads with absolutely no traffic on your way to work in the morning. That is bliss! If you have kids and working , then there are all the baby sitting issues that creep up on you making you choke on any work the boss is discussing with you, even if its 4 months down the line. While I genuinely fear of getting stamped under 1000’s of kids if I set out on a holiday, I take this time to relax and unwind. But this easter, for us, brought not just holidays, it brought us a new home which we just moved into. I am hoping I will be instrumental in un packing and setting up the house. At least I would like to think so! But we are as we are and I won’t call us un organised but let’s just say we deal with things as they unfold and Face the challenges on a one to one basis:)
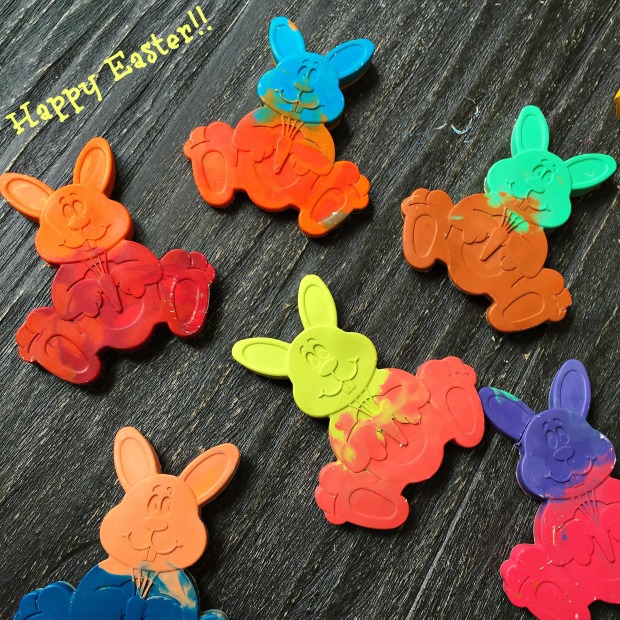
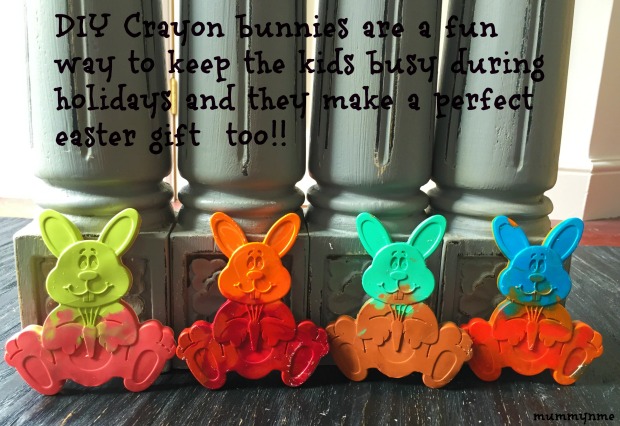
Now, kids are highly energetic and they need activities to keep them busy. Mine will be sent to tennis camps which he enjoys and a couple of sleepovers have been planned. But for the days I am home, my son demands my attention. He loves getting involved in crafts, baking and thankfully these are suitable hobbies for the weather we have right now. We always try and make something for easter for his friends at school and even though I browsed for hours, the one one I picked was one of the first ideas that I liked on pinterest. Bunny shaped Colourful crayons. Very pretty, easy and affordable gifts. Especially if you are making it for whole class like us. The fact that they can be made in advance, unlike any edible gift, is so relieving.
Things you would need to make Bunny Crayons:
Colourful crayons
A bunny mould
Method:
Peel all the paper wrapped around the crayons
break them up and arrange them in the mould
Place then in the oven for 5 mins or until the crayons are melted
Cool them and carefully remove them from the mould and voila !! you have a beautifully shaped crayon in a colour of your choice.
Tips:
- I had a mould with just 6 small bunny moulds, so I had to make 7 batches which took me a week. I phased it out so it was easy to manage.
- Get the kids involved in peeling the crayons, breaking them up, sorting the colours etc
- Be extremely careful when handling hot wax and let the crayon completely cool before removing it from the mould
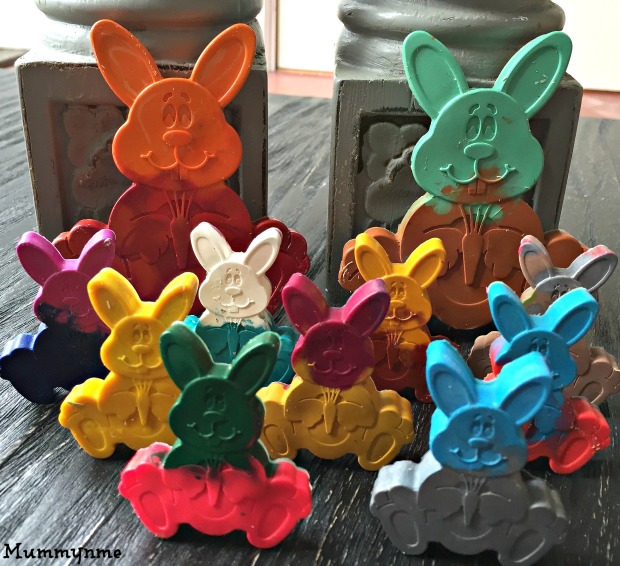
- My mould wasn’t that deep, I found my first batch was very thin and fragile bunnies. I started topping up the mould with more crayons half way through melting the wax so I can get a thick and proper crayon which can actually be used for colouring.
- If you decide to double up the crayons half way like me, then make sure you have the coloured crayon ready because this stage needs to be done pretty quickly before the wax melts.
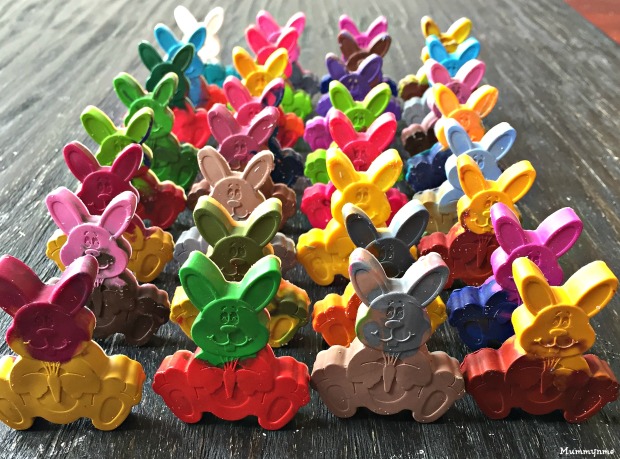
- Use more than one color to give it that wow factor, or make a full set of crayons with single colours.
Possibilities are endless in terms of what mould you can use. Just think of a theme, acquire a mould and get started.
I hope you have enjoyed this post of mine. Try making them with your kids and share your pictures.
XX


